
My Lucy has insulated door and drawer fronts. Actually, the oven and broiler chambers are insulated on all sides except the bottom. I’m not sure about the backs; just taking a guess.
What’s cool is, unless mice or such gained access to those insulated spaces, even 75 years later, that insulation is probably okay… except the oven and broiler doors. Chances are good that over the decades a few sauce and/or grease spills have happened while those doors lay horizontal as someone tried pulling out a juicy dish or two.
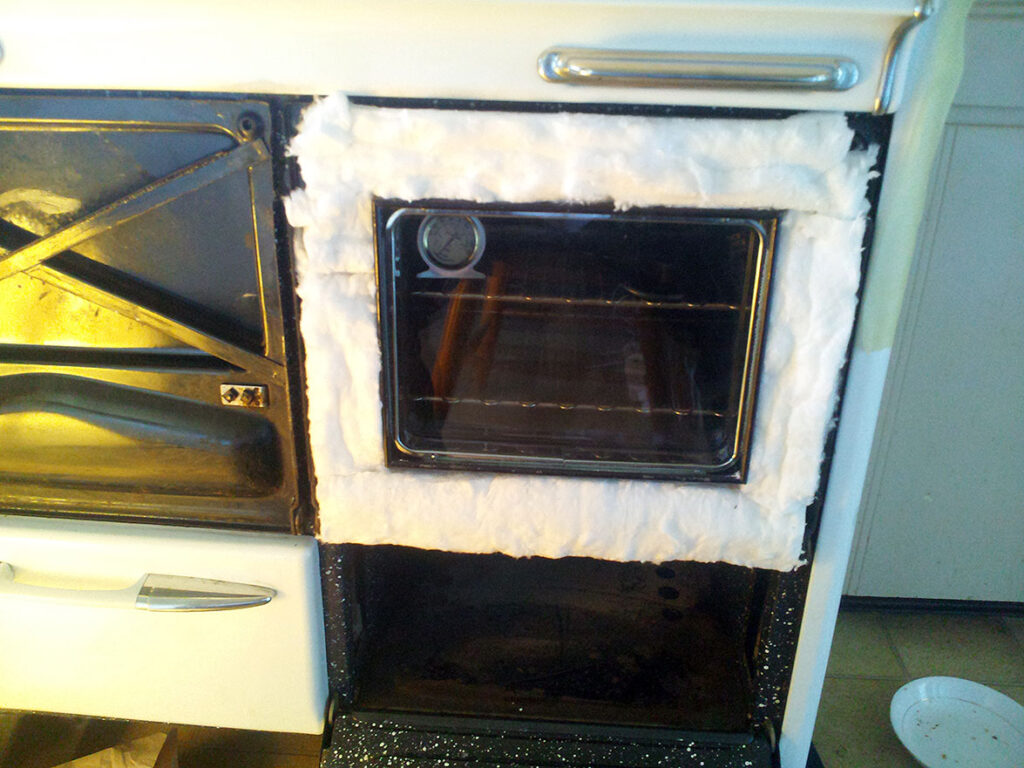
The OKM doors are really two panels, with the inside nested within the outside panel. And those panels are not sealed together. There are two screws in the upper left and right corners of each door. Once the screws are removed, the panels may be stuck together.

Liquidy substances and soot can seep in between and begin to saturate the insulation. Over time, those substances tend to settle towards the inside bottom of the door panels and cake. Use a blade or blade screwdriver to carefully begin prying them open.


Since insulation’s ability is dependent on millions of tiny air pockets, goop in the air pockets will cause the insulation to fail. And it’s conceivable, that gunk smells strong enough to attract unwanted guests.


It’s not hard to check and replace the door insulation. Replacing the insulation on the sides and top are more involved – much more disassembly.

There is better insulation these days – ceramic fiber type. It seems a worthwhile task to check the condition of the insulation in the doors, especially if the oven door feels like it’s throwing out a lot of heat. Remember, when installing insulation be careful not to compress it; insulation becomes less effective when it’s compressed.
Parts stove for Lucy
I wanted to add a few features to Lucy; a windowed oven door and a griddle, primarily. I searched for and found a perfect parts stove. It was a similar model, identical chassis but with some additional features. First thing was to replace the oven door.


If the stove has been invaded by little guests, a deep dive into the inner sanctums of the stove is necessary. Toss the contaminated insulation, thoroughly clean the metal surfaces, preferably with strong, industrial cleaners.
Note: Related to throwing out a lot of heat , make sure that oven door closes tightly. If there is a gap, that’s a lot of heat escaping into the kitchen. Nice in the cold winter, but not so much in the hot summer.