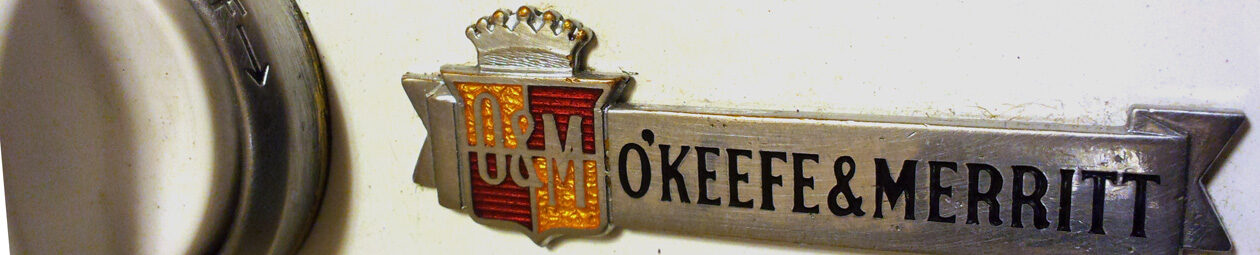

My 1953 O’Keefe & Merritt 500 has a clock with an oven timer and an independent timer. At that point, my expectations were low. I didn’t expect they worked. I just wanted the area to look nicer. The face plate and the numbered bezels for the clock and timer were something I absolutely had to address. The corrosion was so severe, they looked diseased. That was actually the first restoration area I wanted to do.
The trick was finding out how to remove the pieces. I knew there were lots of people who knew, but I didn’t know any and they were not sharing it online! So I had to figure it out on my own.
There wasn’t anything obvious on the front, so I decided to remove the back panel (heat shield) to see if and what might be securing the faceplate from behind. Hmm… nothing obvious there either.

So I carefully reviewed the front again and noticed a very low profile nut around the light switch. It wasn’t hard to twist off with needle nose pliers. The white electrical outlet cases were also helping to hold the faceplate in place.

I returned to the backside and unscrewed the brackets that held the two white plugs, then pulled them out from the front. That’s all it took. The faceplate was easy to remove.


The faceplate and both bezels were aluminum and highly corroded. I scraped the surface hoping it was just old splattered food and baked grease. No such luck.
To Chrome or Not to Chrome
Re-chroming was certainly an option for the faceplate and bezels. I’d seen fully refurbished stoves online. But I didn’t want to deal with that process just yet. I didn’t know the costs but heard they were quite high. Plus, I was more focused on getting the stove to function safely. That’s where I wanted to invest the little money I had. So as long as the panel didn’t look diseased, I’d be happy.
So if not the traditional chrome… what? What seemed easy and less expensive was to paint. Paint was no where near as durable, but it would do until I had money to do more.
The faceplate barely had any chrome left. After degreasing and sanding the faceplate with steel wool and abrasive buffs to remove layers of corroded chrome and copper, I applied several layers of red engine spray paint.
Red seemed like a nice accent color, especially since the clock and timer already used red in their respective dials. I used Engine Enamel Universal Spray Paint — DE1605 Dupli Color (Ford Red). It is rated to 500 degrees F. It looked a lot better.


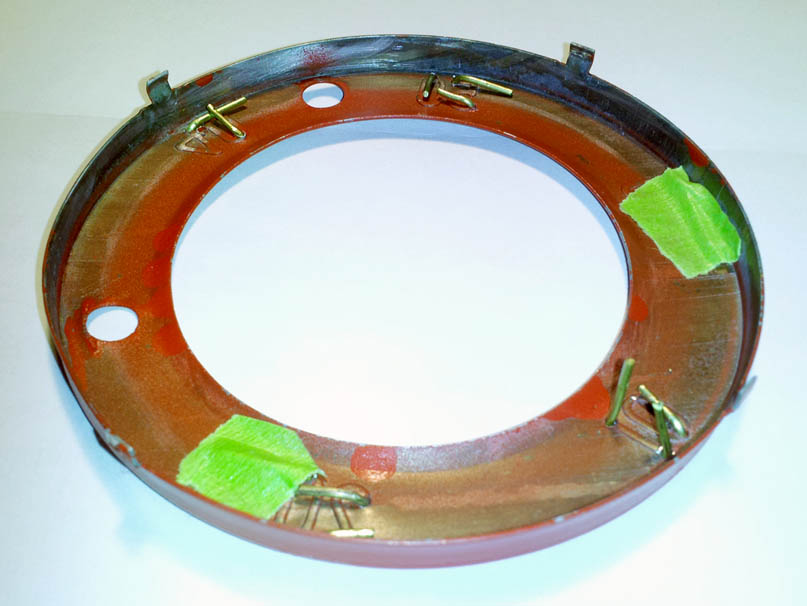
As you can see, the numbered bezels looked no better. Next – try to find the way to release them from the clock.


After removing the clock from it’s case and disconnecting the wiring, it was not hard to see the simple metal tabs holding the bezel in place. Once I pulled the white knobs off their respective stems and carefully straightened the tabs, the bezel and glass cover were easy to lift off the clock.


The little white dials and the domed glass got a thorough soapy soaking and cleaning. I degunked and oiled the metal stems.

As with the faceplate, I degreased and sanded the bezels, hoping to find a nice fresh metal layer underneath. But it wasn’t there. So I decided to get a little creative with the aluminum bezels.

If no chrome, how about more paint for the bezels? Fine. But if the bezels were going to be covered with paint or whatnot how would the numbers show? For fun, I decided to make numbers out of brass wire.
The easiest way to attach them was to drill tiny holes in the bezels for the wire to go through, then bend the stems in the back to secure them to the bezel.
So I decided to cover one bezel with the same red spray paint. The other bezel I covered with a thin layer of black polymer clay. After drilling the holes, I covered the bezels then re-reamed the holes. I fashioned numbers out of 18 ga brass wire and attached them to the bezels. Although the paint was the easiest technique to apply, it took 7 days for the paint to fully cure. Multiple layers wound up taking weeks.


A Classic Before & After

Before restoration

I also painted the left and right vents doing the same basic process.

Note #1:
Until I get the time to address the clock’s functions in a separate page, I’d like to add a few things here.
Anyone very familiar with vintage stoves will tell you it’s a miracle if a clock still works after 60-70 years of sitting just atop a stove that’s likely used everyday.
The heat, clock lubricants and any airborne oils/grease from cooking and baking are enemies of the delicate precisioned gears of a mechanical clock. With any luck the clock’s gears only need to thoroughly cleaned and relubricated. Otherwise, the clock motor may have worn down some gear or the motor has burned out.
While most owners love to have their stove clocks purr along, they are not the most critical functions to address in an OKM. A little patience, research about your clock’s specific features and you may be able to remove the clock, clean it and put it back into the stove.
You can also send your clock to a professional to be tended to, maybe even rebuilt – at pro rates, IOW $$$$.
Note #2:
My recommendation is to tend to the primary functions/features of your treasured beauty. Once you have a solid grasp of your stove’s needs, you can decide if there is room in your time or budget for the clock. In the interim, use a smartphone, tablet or cheap little timer for timing.
Another item that people frequently ask about are those little white clock knobs. I’ve learned that the most easily removed or broken parts of an OKM will likely cost the most because they are usually lost over time.
If you must have the original knobs, expect they will be hard to find and/or cost far more than you think they should. If you are in CA where there is a relative abundance of discarded OKMs, grab a cheap or free one that has clock knobs!
If you can fashion something out of epoxy or metal, go for it.
Note #3:
Penalty of being clueless and/or impatient. After six or seven years, the spray paint pretty much peeled off the metal after a few short years. Chances are it’s because I had not applied any primer – a primal rule with any paint job. I may consider getting the faceplate powder coated.