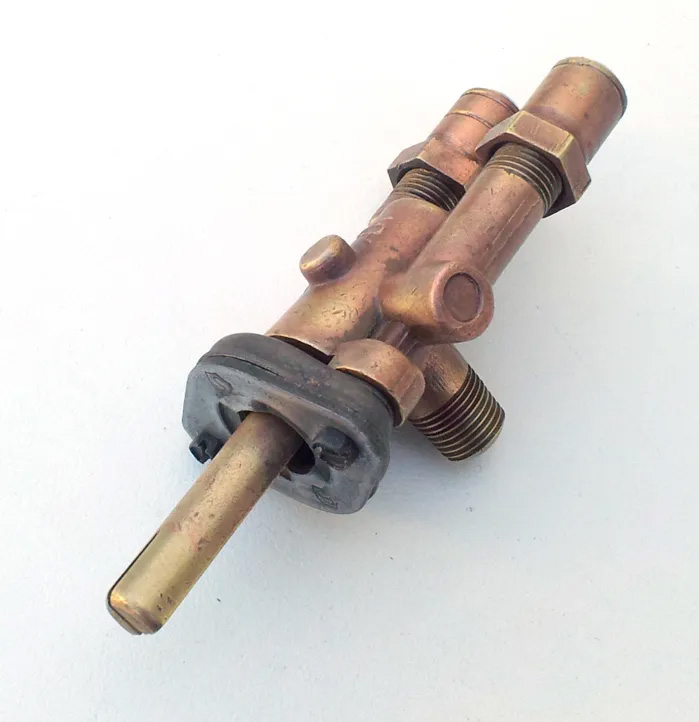
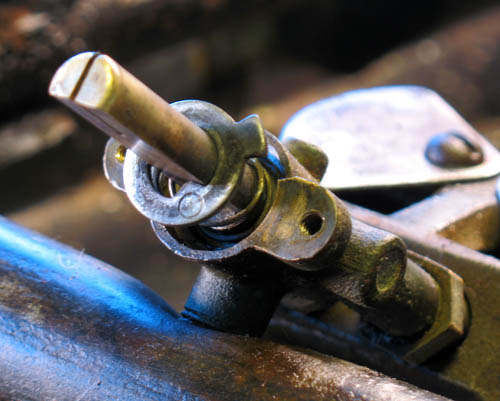
The gas valves used to control the supply of gas to both the main burner and the simmer burner in my OKM are called Alltrol double gas valves. Alltrol valves like the one shown above have been in most of the MCM (mid-century model) OKM stoves I’ve seen so far. There is a simpler type of valve for the broiler, and still another for the griddle. But they serve to control how much gas is fed to the burners. They should be lubed when I feel resistance when rotating the valve knob.
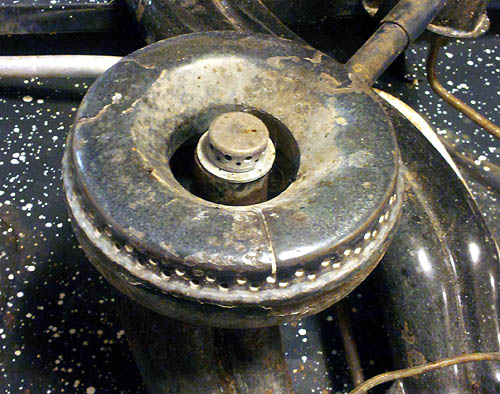
The double gas valve is a remarkably precise machined device where brass turns against brass to control the amount of gas that flows through it in to the stove without leaking. One of the double valve outputs goes to the main burner ring, the other supplies the little simmer burner.
When I first tried the valves on my OKM they were fairly stiff when being rotated. Since it was my first vintage stove, I didn’t know if that was normal. I was told by a vintage stove specialist I hired, it was definitely not normal. Later, I learned one can damage the knob and or valve if too much force is used! With OKMs, the knob, being of weaker material than the brass stem, tends to crack and break first.
Often vintage stoves are so awesome at performing, they’re run for decades without being tended to. The most frequently used part of a stove are the knobs/valves, as they are rotated frequently. The lubrication degrades over time.
The vintage stove expert showed me how to lube one valve and even gave me a small dollop so I could lube the rest of the valves.
This is the full procedure I went through.
Access the valves
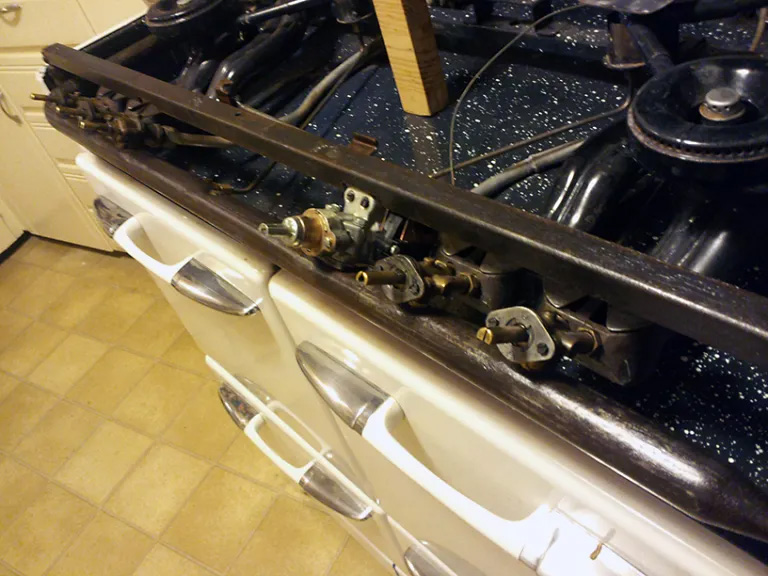
The valves are underneath the control panel which is sort of underneath the cooktop. First, I needed to turn off the gas to the entire stove. Second, I removed the grates, and propped up the cooktop. Then I carefully lifted/pulled the knobs away from the control panel. A couple pulled away easily because the stem collars were cracked! Then I removed the knob bezels.


I had to locate the screws that hold the control panel in place so I could remove the control panel. Once I set aside the control panel, I could easily access the valves.

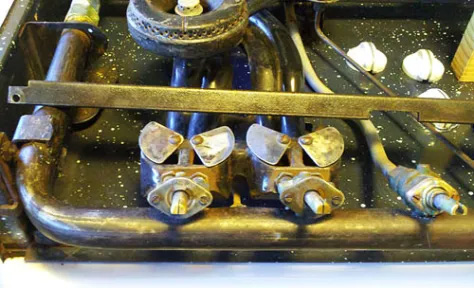
Tackle one valve at a time
I learned to treat each valve as an individual, each with it’s own characteristics ingrained into it over time. The goal was not to mix & match valve parts.
I did one valve at a time. With a small blade screw driver, I loosened the two little screws on their either side of the valve stem. Lifted off the valve cover.
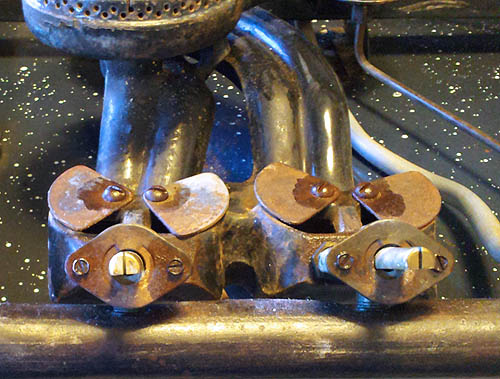
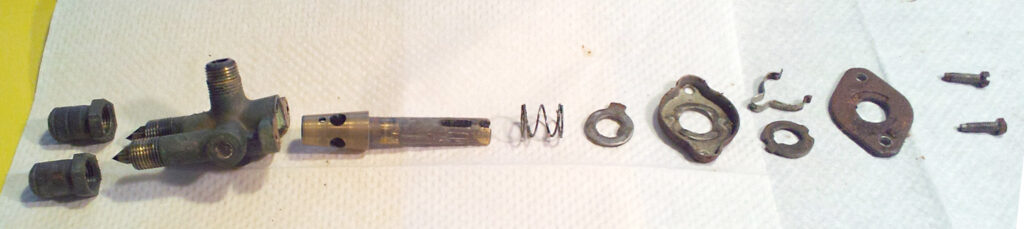
I uncovered the little cup that contains a spring clip and detent disc. I carefully lifted them off and set aside, making sure not to misalign them until I understood how they worked together.


Below that cup I saw a tabbed ring and a spring. I lifted off the ring and pulled the split stem. That was the valve cock, the item that needed to be cleaned and re-lubricated.
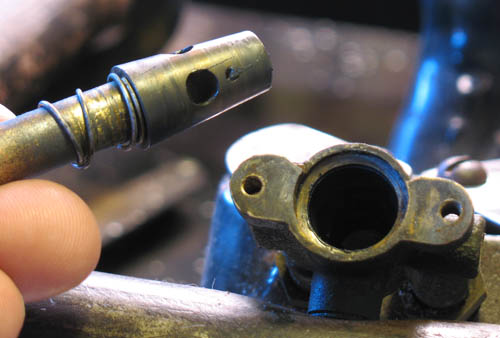
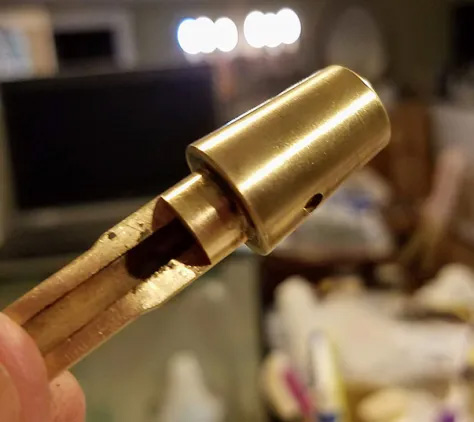
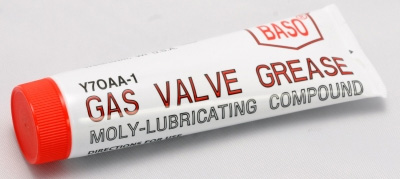
I thoroughly cleaned the valve cock with a dry paper towel. Then I used the special gas valve grease the vintage stove expert had given me. (There are actually more through cleaning steps I could do once I learned how to remove the entire valve from the manifold. I might cover that later.)
Because I didn’t really understand how much grease I needed for my stove (a very tiny amount) I immediately ordered more online. 🙂
I learned it was vital to order “gas valve grease/cream”. Other lubes would not do. Not Vaseline, bacon grease, lithium, etc. Not only not recommended, it dangerous. Heat and combustible gases can react with other lubricants to quickly make them ineffective; possibly start leaking gas.. Some brake greases might work. Use at your own risk.
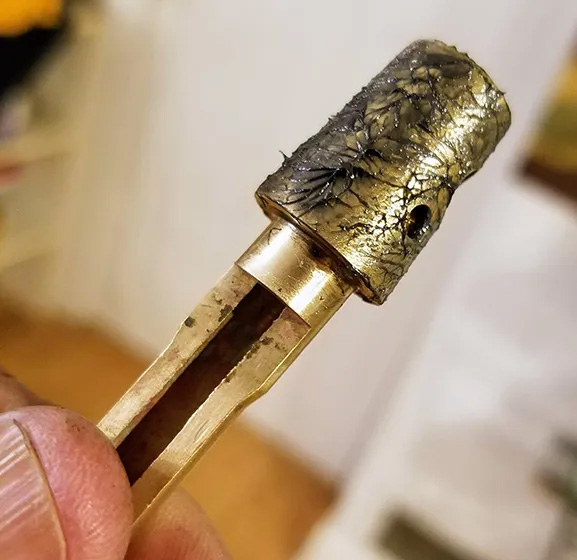
The lubrication application is also very, very important. You want to make sure there is a thin even coat on the entire tapered cock. Too much grease might clog the valve holes the raw gas must pass through while flowing to the burner. The first time, I added too much grease, so I had to undo everything, carefully remove excess grease then reassemble.

Since the order of the pieces stacked on the valve stem is critical, I photographed their order so I could reference this at any time.
When the lubrication was done, I reversed the disassembly order until the valve was assembled. I put on the knob and tested the turn resistance. Definitely much better!
Since it was likely the other valves were in need of the same TLC, I went through the rest, one at a time, cleaning and relubing them until all the valves turned smoothly, with ease.

Gas Valve Greases
There are several brands of gas valve grease available. Unless you plan to go into the business of servicing gas stoves, you probably won’t need more than a half a teaspoon for the life of the stove! Home gas stoves don’t go through too much work to require lots of lubrication. I tried not to spend an incredible amount of money. I got a graphite-based gas valve grease, called “HyHeet”. It was about half the price of the others.
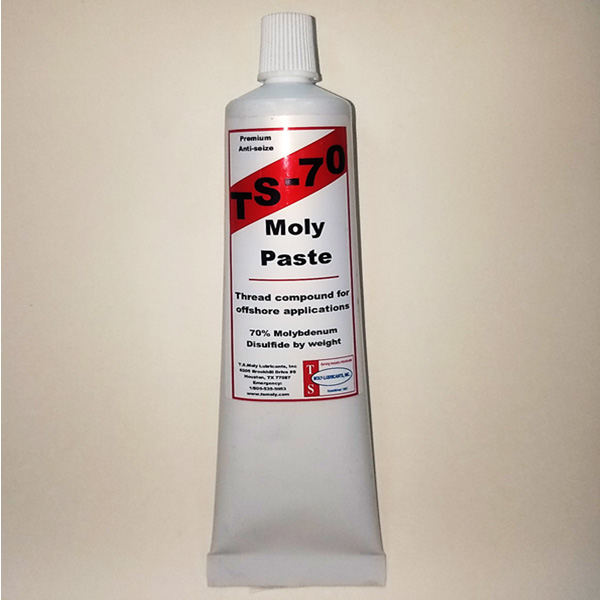
Here are ones I’ve found on the web. Recently, I learned there are basically two types of grease for gas valves; graphite or molybdenum based ones.
This article from molybdenum42.com addresses both types.