OKM “Lucy’s” cooktop burners looked their age, but there were no cracks or problem holes. Just spots where the porcelain enamel had broken free

I noticed the screws at the base of the heads and figured that indicated a joining where gas could leak. So I decided to remove the burner heads. Each of those puppies are impressively heavy.
After removing the burner head, I assumed there would be a gasket to help seal the burner heads to the joining to prevent leaks. But nothing was obvious, at first. With a putty knife I started poking and scraping, discovering there were gasket remnants. Sorry looking things that had given their life long ago.

I scraped at and removed all gasket remains, sanded the metal surfaces and ordered four new burner gaskets. I even vacuumed the burner gas tubes – only because at the time I didn’t know how easy it was to remove them from stove.
Now to the burner heads. With dental tools, I poked into the dozens of holes and scraped out the ash and debris. Banging them with a rubber mallet loosened a little more debris trapped inside.

The new gaskets arrived and I was about ready to reattach the burner heads to the burner gas tubes when I discovered something amazing, something I could not find explained anywhere on the web.

While trying to reattach the burner heads I noticed the burner tube assembly moved a little! With a little play, it moved more. Eventually I realized it wasn’t hard to lift the whole thing out!
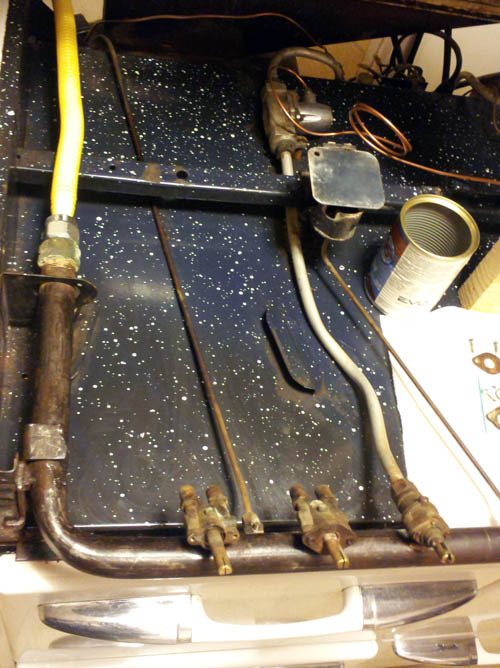
No screws or bolts were securing it to the stove. There was a small hole in the brace bar where a pin on the burner tube set would fit, but otherwise it was stabilized by its own weight. Sweet! Knowing this was going to be very, very helpful in the future.

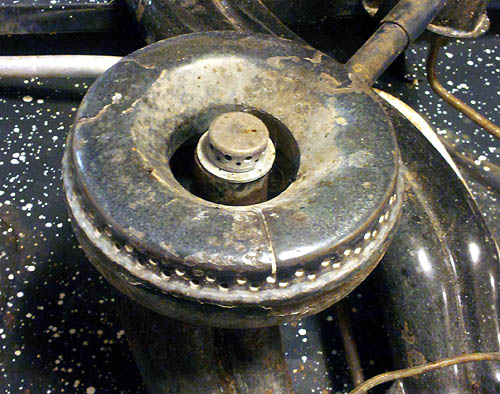
The burner simmer caps were and are tricky customers. I could unscrew two out of the four. Later, using a torch on the column’s exterior and Loctite’s Freeze and Release spray directly on the cap I loosen one more.

The last one, I dunno. It’s incredibly stubborn. To remove it, I may have to cut it into pieces. But for now, it’s stuck but it works.

While they looked bad, they worked, so I scrubbed and cleaned off as much of the corrosion as possible and buffed them to bring back a little of the shine.

When everything is clean, lubed and properly adjusted, it’s especially nice to see the happy blue flames from the cooktop burners.

Later, I bought a parts stove that had main burners in better shape, so I swapped.
