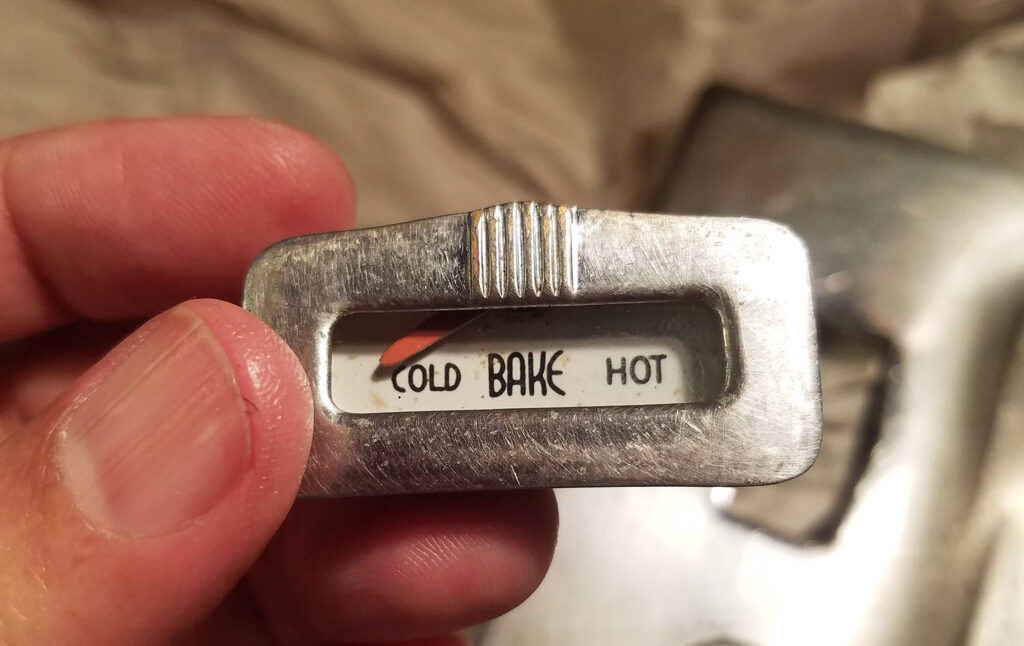
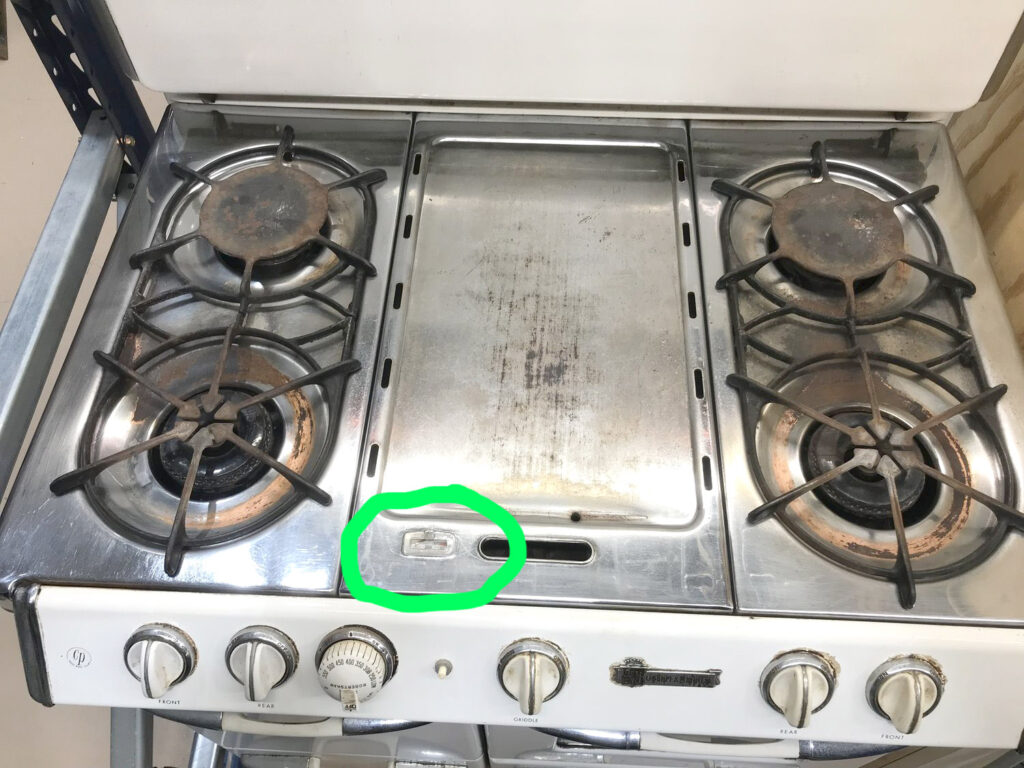
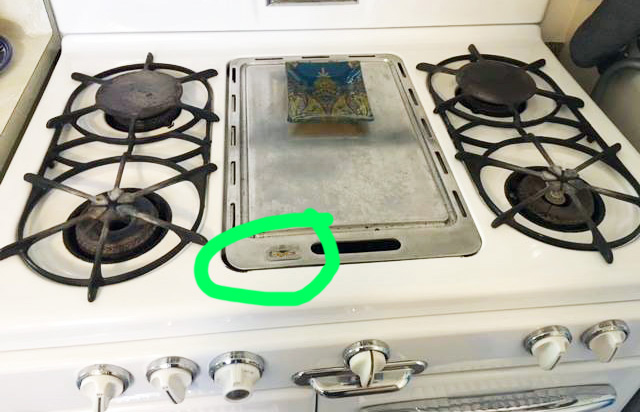
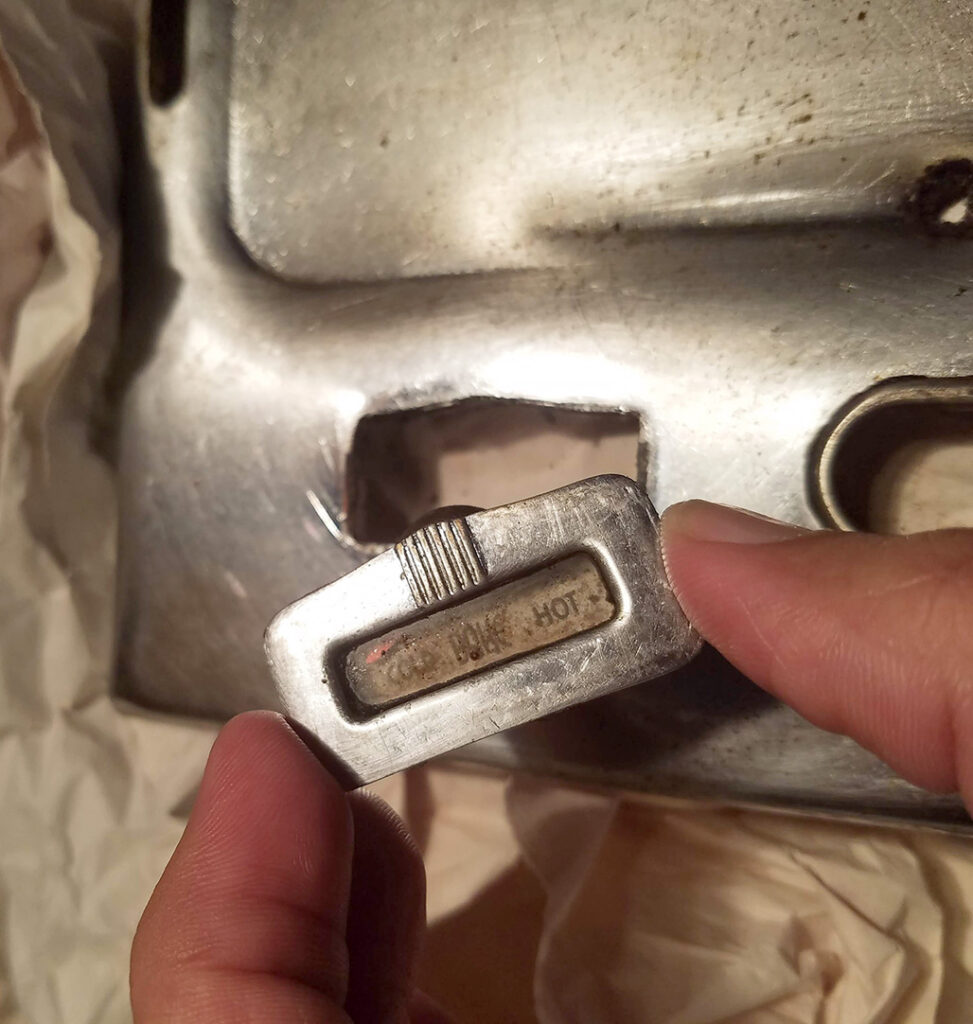
Since “Lucy”, my first OKM (O’Keefe & Merritt) gas stove didn’t have a griddle in the middle, I haven’t devoted much blogging effort to it. However, after becoming an Facebook admin for a vintage stove group, questions about cleaning up the little relative temperature indicator has popped enough times, my curiosity got the better of me.

I had salvaged enough OKMs while in San Jose, CA, that I had a few of those 10lb + heavy steel griddle beasts. I wanted to play with one to see if I could puzzle it out the griddle temperature gauge; to do the entire disassemble, clean and reassemble of the temp indicator.
Steps

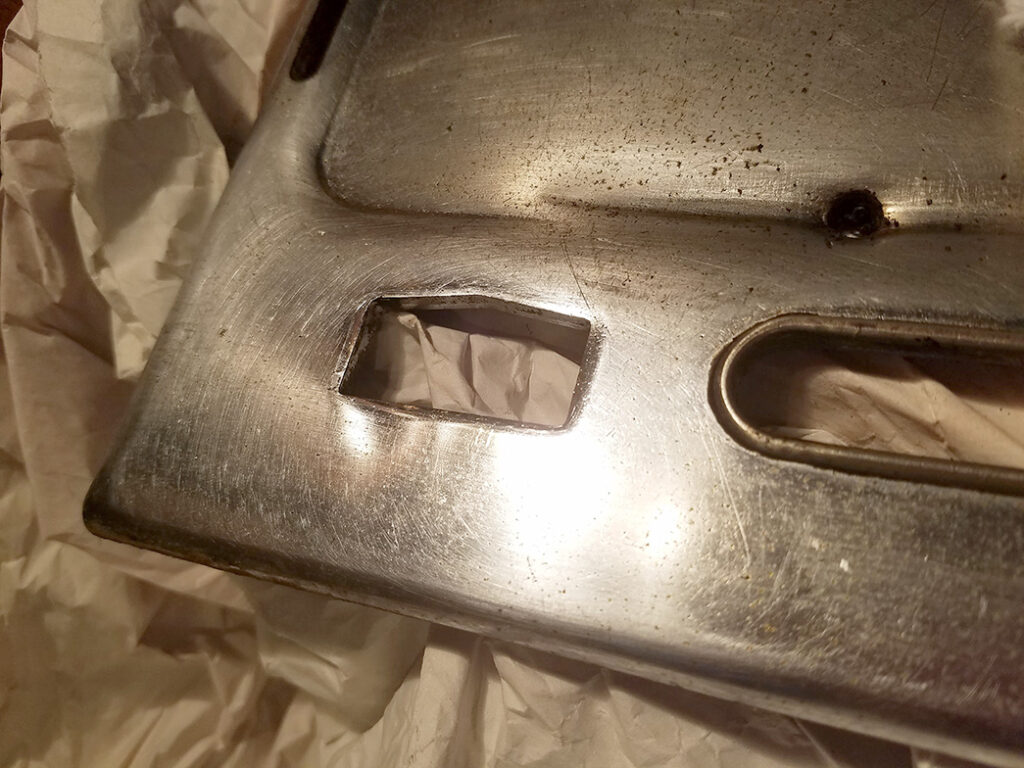
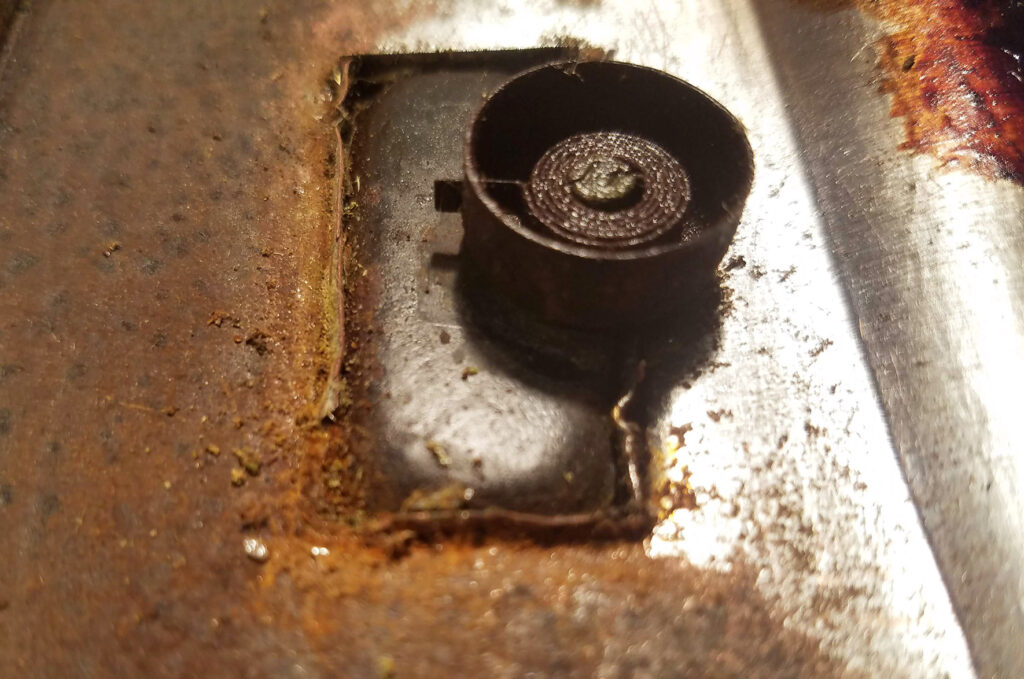
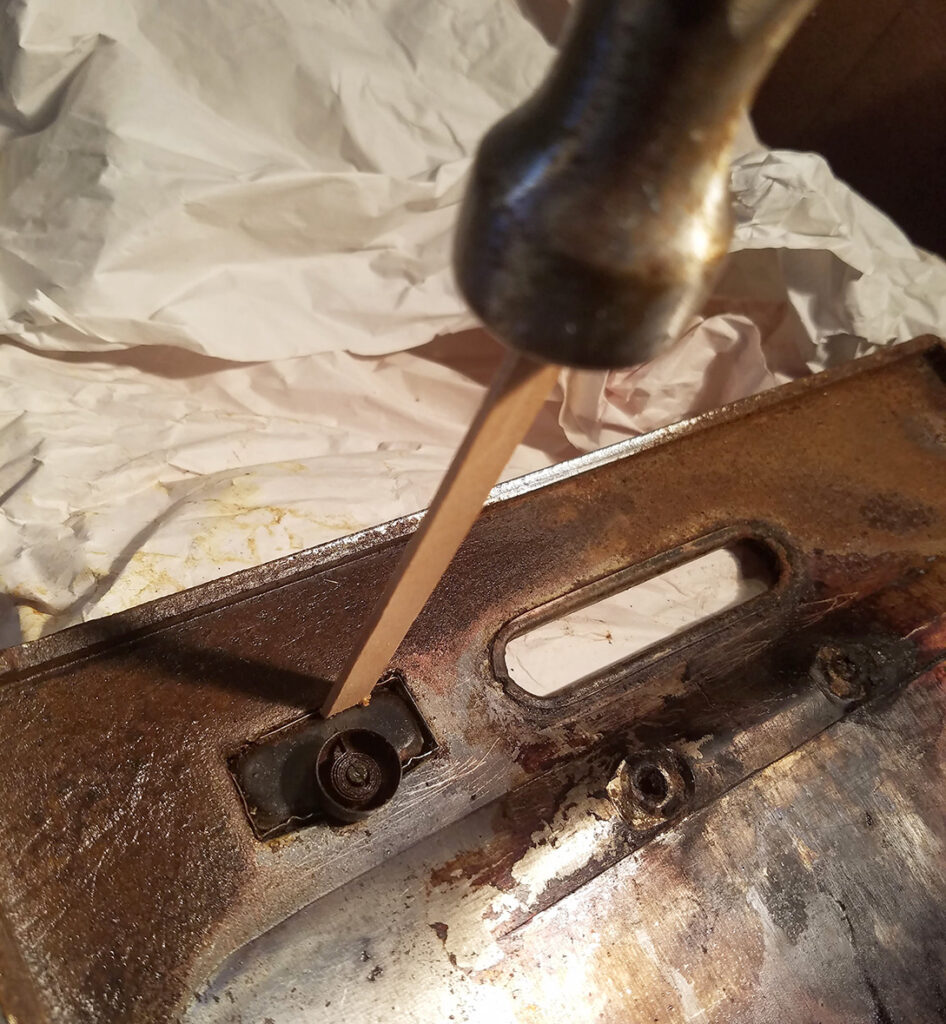
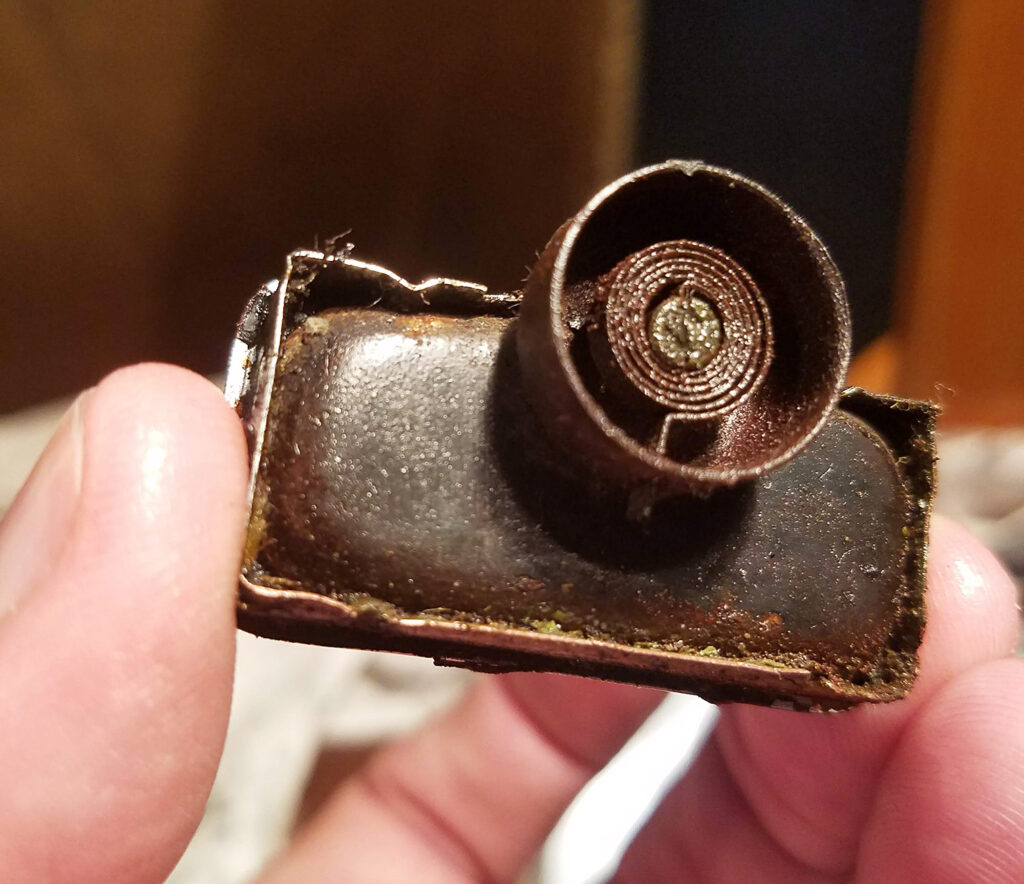
The indicator is held in the griddle from the back, with a thin strip of flared out metal. It showed quite a bit of rust. I applied some Tri-Flow oil penetrant to the entire piece. For me, rust is always screaming for a little Tri-Flow. 🙂 I applied it in hopes of softening the decades of baked gunk and in hopes it will loosen any rust. The oil requires some some time to let it penetrate.
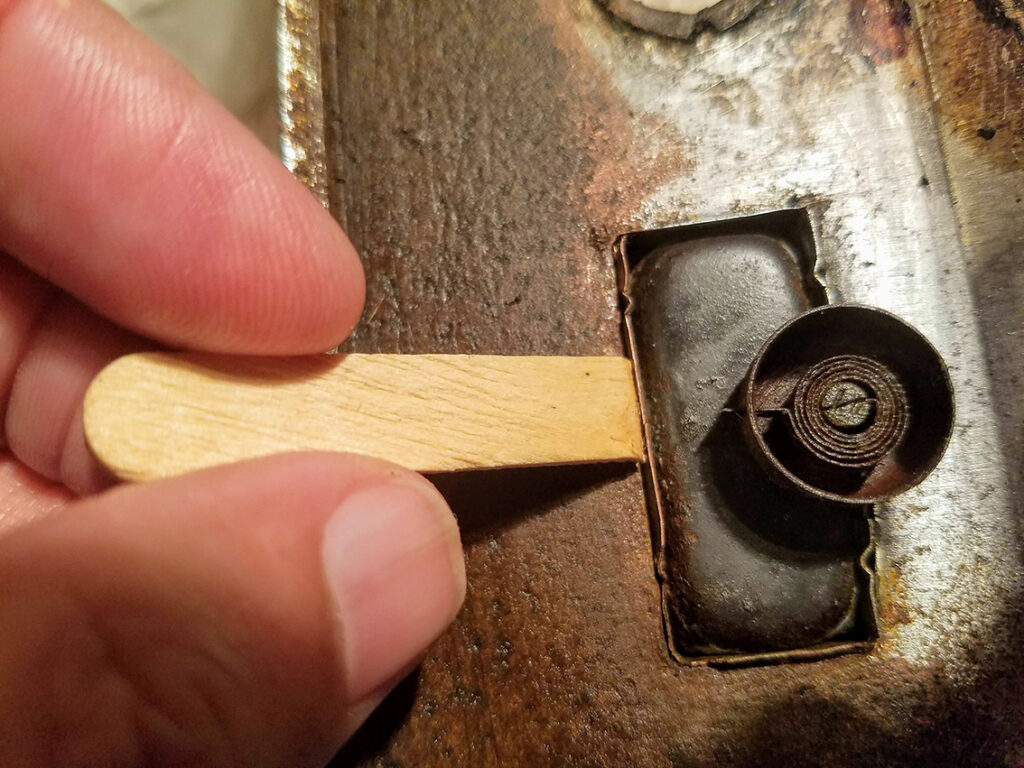
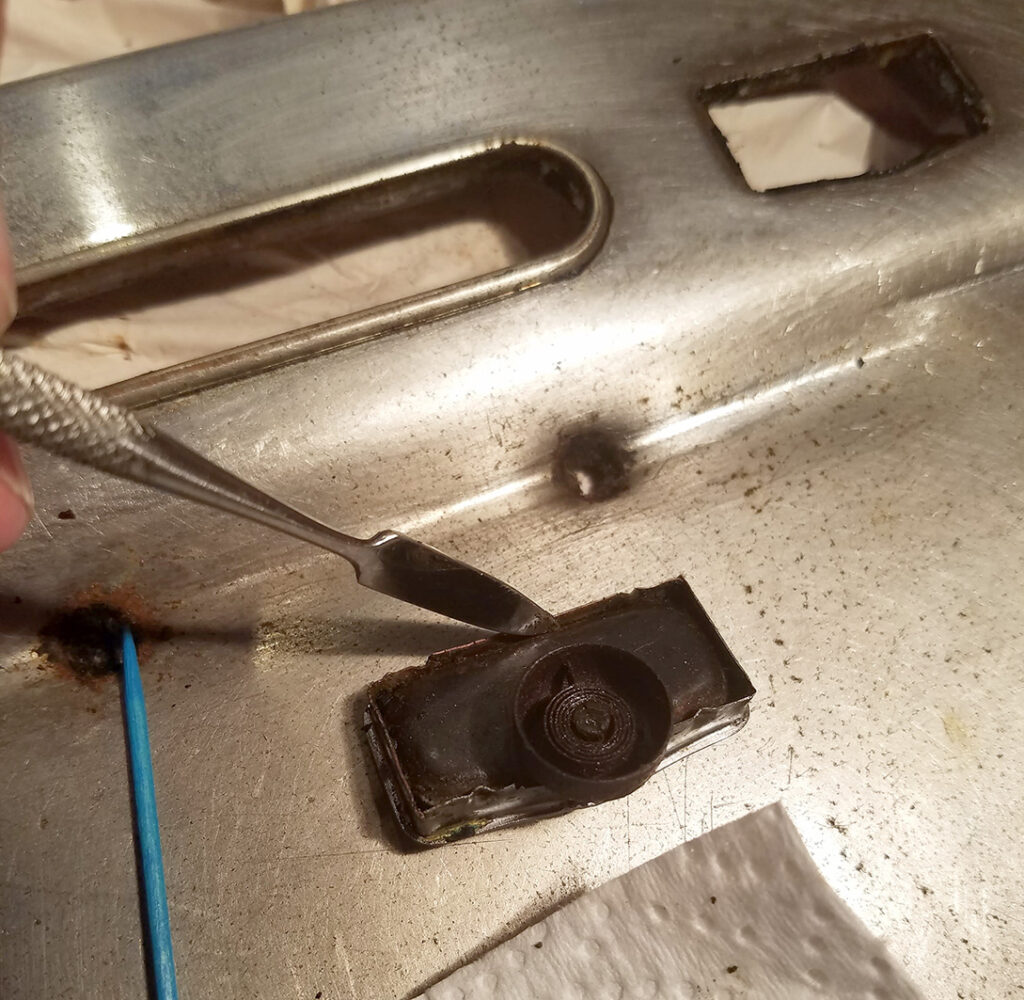
The bezel edge was thin and fragile. The flared out bezel edge needed to be pushed in slightly all the way around. I used a popsicle stick to tap the bezel edge inwards with a hammer, very lightly. Then, I started tapping on the gauge to nudge it through the opening.
Gently tapped on the gauge to push it out through the top of the griddle plate.
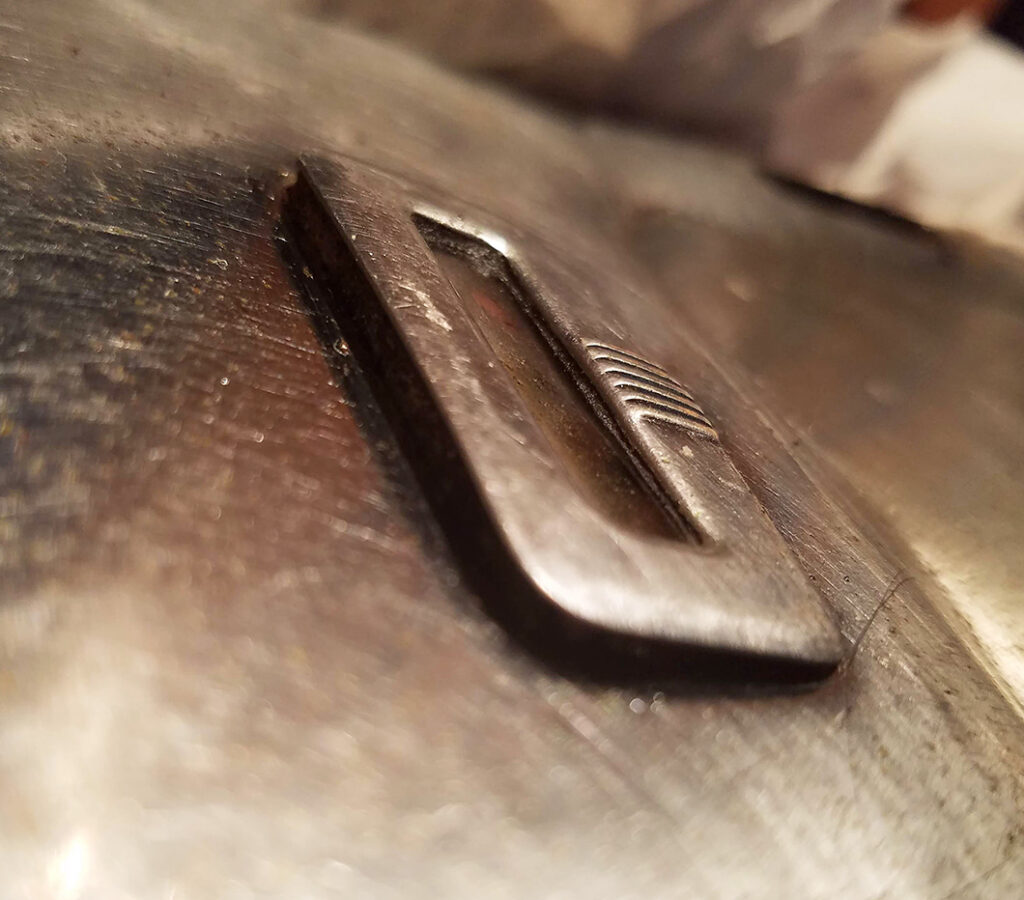
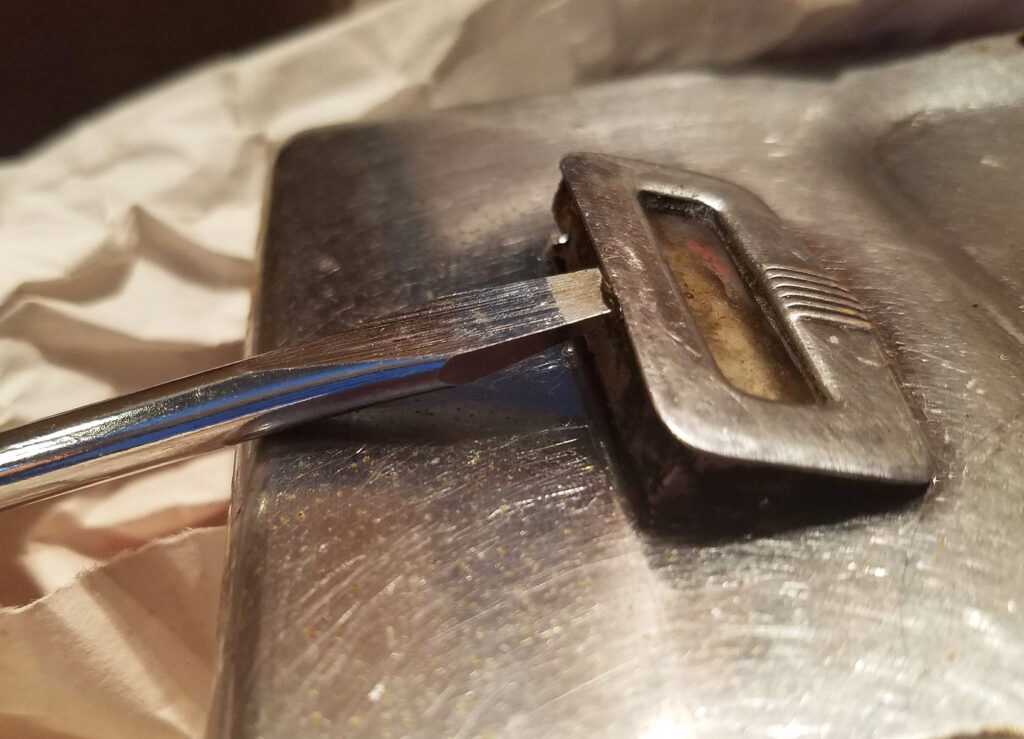
Carefully nudge the bezel edge slightly outwards to help release the inner pieces. Pull the gauge out from its frame.
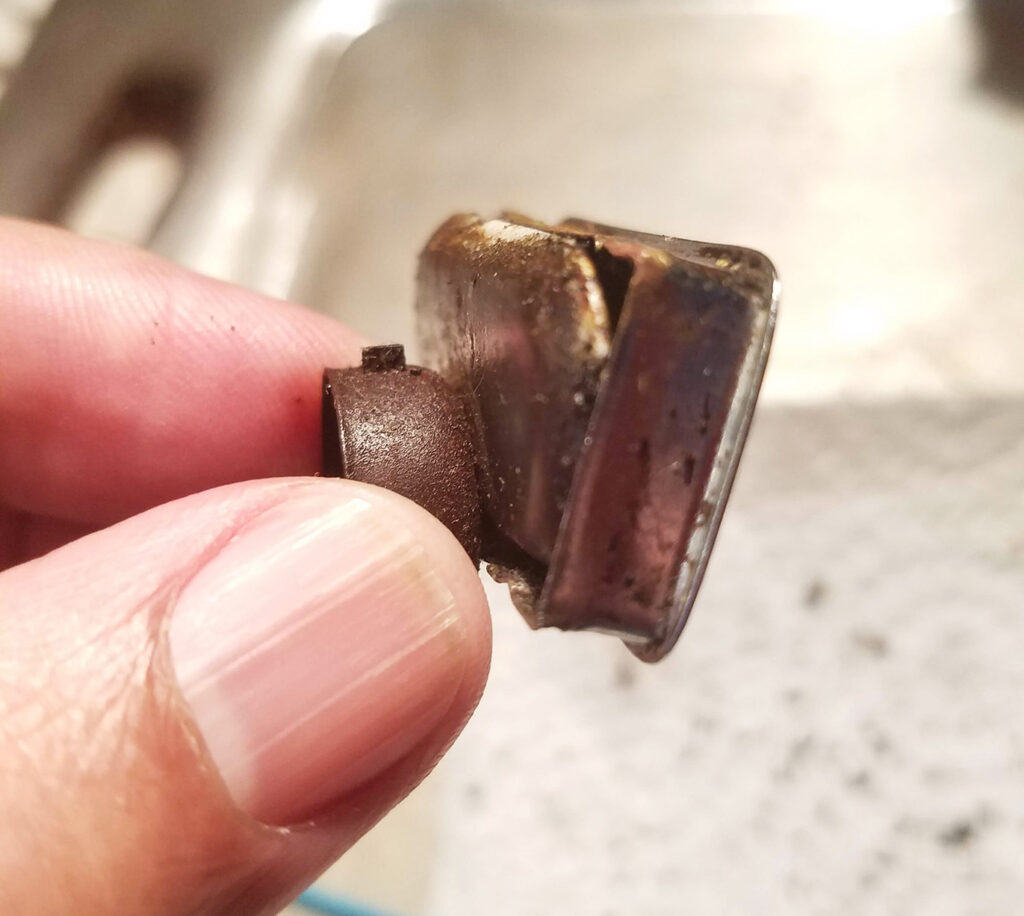
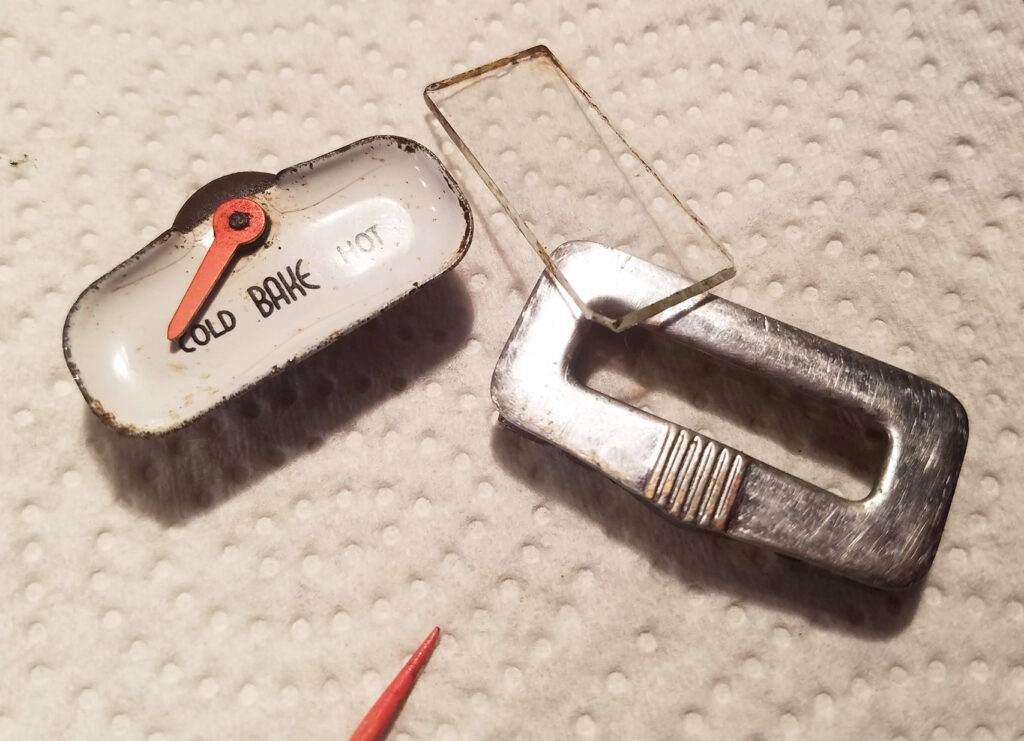
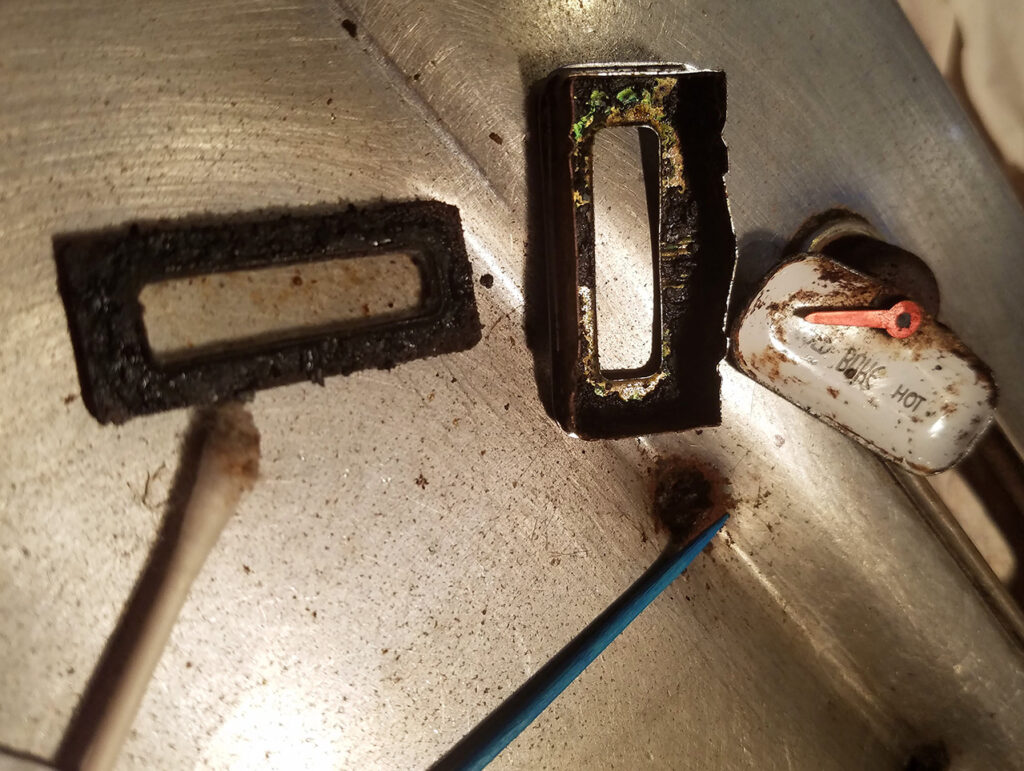
The gauge breaks down into three parts;
- Frame
- Gauge (display with pointer and coil)
- glass
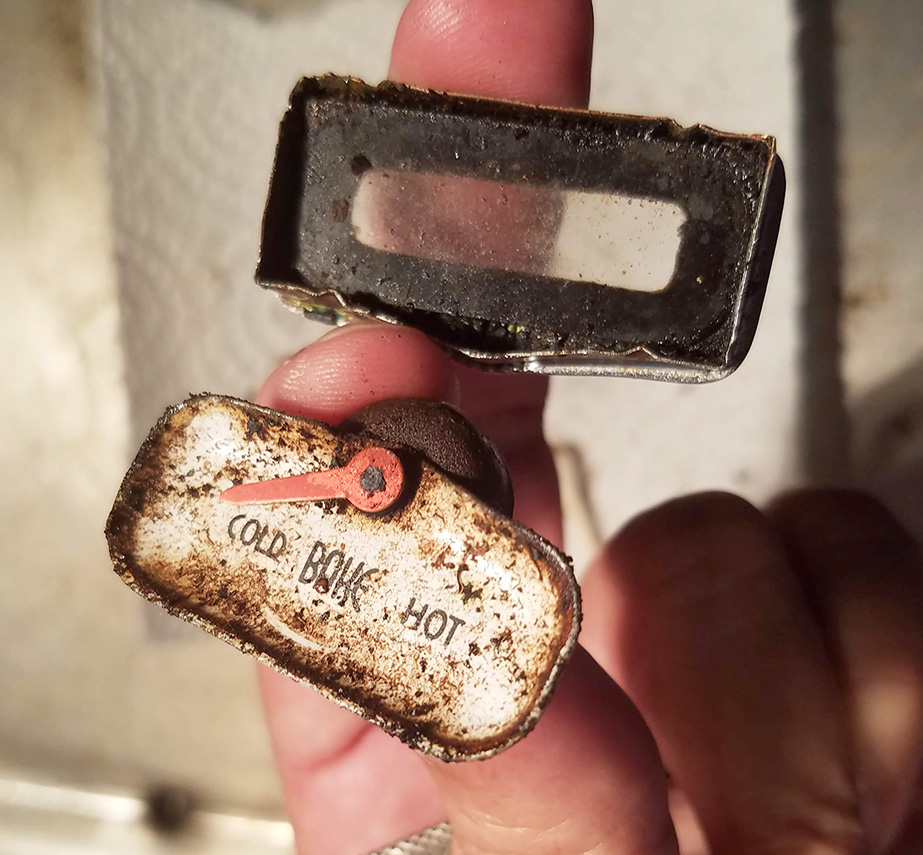
The leftmost piece is actually the glass. Most of it was covered with baked on grease and gunk. The middle piece is the frame and the far right piece is the display.
I used mostly wooden toothpicks, cotton swabs soaked with Goof-Off, and general household cleaners to remove the gunk.

After reinserting the gauge, the metal strip needs to be carefully flared out to anchor it into the griddle.