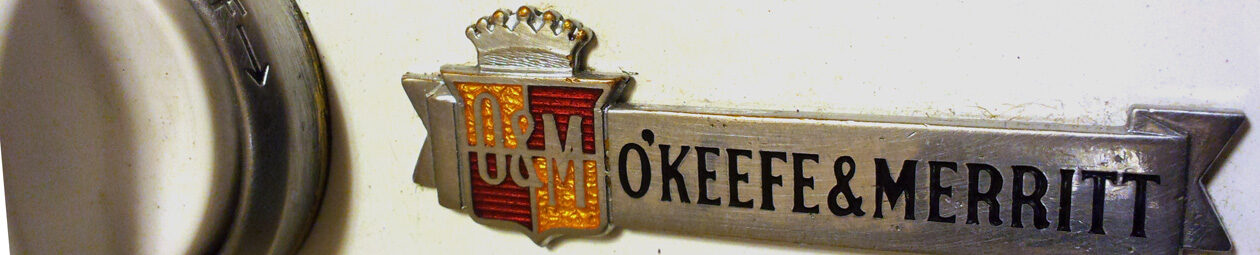
An rare Achilles heel in these mighty O’Keefe & Merritt and Wedgewood stoves – the plastic control knobs. The control knobs on those vintage gas stoves are made of some type of heat-tolerant resin. I was told it wasn’t Bakelite, but something like it. Regardless, they don’t hold up quite as well as the steel and cast iron beasts they accompany.


After 60-80 years, many of the knobs have broken collars (where the valve stem fits into the knob). If the brass stem fits too snugly into the plastic knob, the plastic can crack. Also collar breakage is due to the valves not being properly maintained; not relubricated,. Old, stiff lubricants make the valve harder to turn on and off. This puts undue stress on the knob. The collar will eventually crack and break.

The knobs, attached to chrome-plated bezels, can get rust stained as the bezels degrade and become irreparably damage. Restoration of the bezels require chrome replating, which isn’t cheap. Alternatively, they could be painted with auto paint, for example. I may cover that at some point.
Good news is there is hope for the plastic knobs!
Cleaning

Thankfully, because the knobs are plastic, they are not that hard to repair and clean. I start by carefully removing the knobs from the stove using mini-pry bars; pulling the knob straight out.

Next, remove the screws to separate the metal bezels from the knobs, and soaking everything (knobs, bezels, screws) in hot soapy water and scrubbing them with a toothbrush until they are as clean as possible.
After a good rinse, I make piles; knobs, bezels, screws. That’s because they’re different materials that, at some point, each pile will need to be handled a little differently.
The bezels and screws
There are dozens of products that contain acids suitable for tackling rust. I prefer phosphoric acid, when I’m impatient. I’ll throw the metals (bezels and screws) in a bath of the acid, checking every once in a while. How long any given item soaks depends on how badly it’s rusted. I’ll use a brass wire brush to scrub away loose material. After the acid bath, I’ll transfer the items into a baking soda bath to neutralize the acid, then rinse in clean water, and dry. Then I’ll immediately make sure those pieces get coated with some basic oil to prevent re-rusting.


Repairing or restoring the bezels requires some judgement, assessing the condition of the chrome plating and the steel. I do know chrome replating is expensive. I’d go with a durable metal paint. Alternatively, there might be a vintage stove parts seller to buy from.
The knobs
Removing the metal strips is optional. If the strip is very fragile, it might break if you try to remove it. I think they are aluminum. It can unexpected reaction with solutions.
Note: If you want to replace the strips, I would recommend ordering sterling silver flat wire from Rio Grande or stainless steel flat wire from etsy.

I carefully remove the strips with jewelry pliers. Then it’s time for a phosphoric acid treatment.

Removing rust stains from knobs
The knobs with chrome plated steel bezels attached by steel screws can, over time, get rust stained over time. To remove those rust stains from the plastic knobs:
- Heat the knobs in very hot water until they are almost too hot to touch
- Saturate a cotton swab with phosphoric acid and swab the rust spots
- Keep swabbing until those spots lighten or even disappear, depending on how deep the stain penetrated the plastic. This step may need to be repeated several times.
Repairing broken knobs
I chose JB Weld’s HighHeat epoxy putty to repair in areas where the gray putty can’t be seen from the front. I coat a plug’s valve stem with layer of petroleum jelly so the putty will not stick to it, carefully push the stem into the knob, then push the putty into and around the stem. While I could leave the brass piece in, I rather very carefully pull it out while the putty is setting. Eight hours until it fully cured.


After the epoxy has had adequate time to set, a Dremel with a grinder attachment does a fine job in just a few minutes to remove the excess putty so the patch is level with the knob’s collar.


To give the knobs a bit of shine, I sand the knobs with #400, #600 and #1000 wet/dry sandpaper in a small container of soapy water. After drying, the knobs get a good buffing.

If you ordered that flat wire, now is the time to install those strips.
Dramatic Before & After
