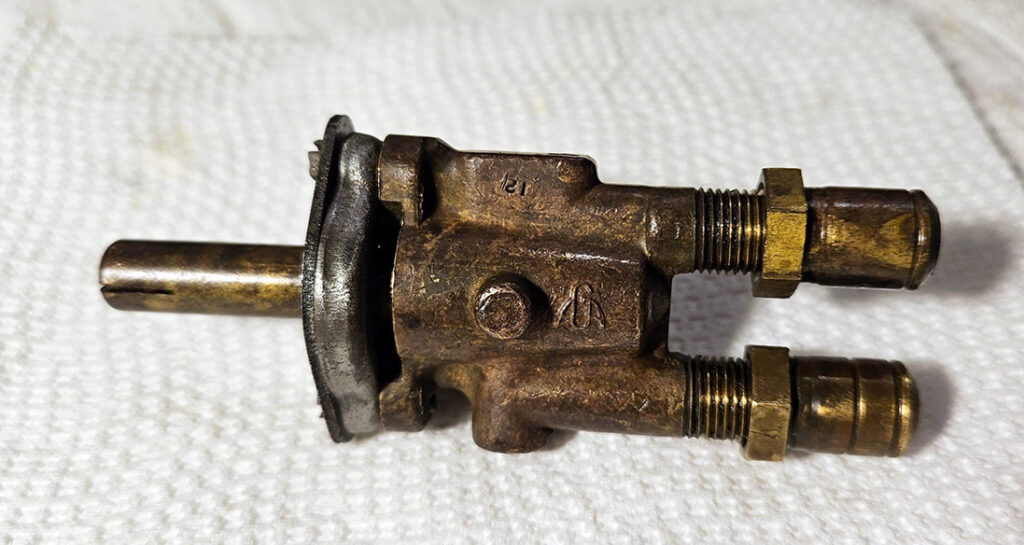
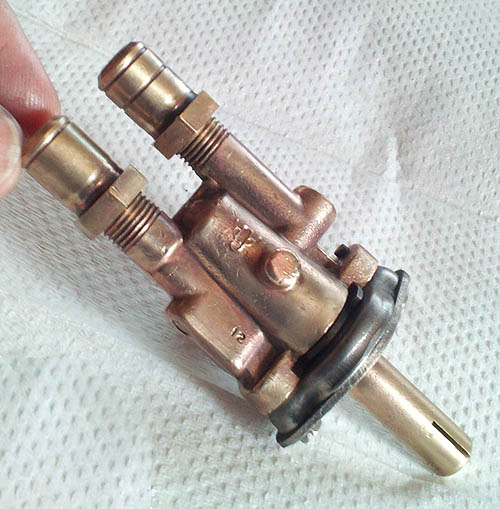
Those poor dusty, greasy, dirty cooktop burner valves. All of them needed a bit of TLC; a bit of cleaning and some new parts.
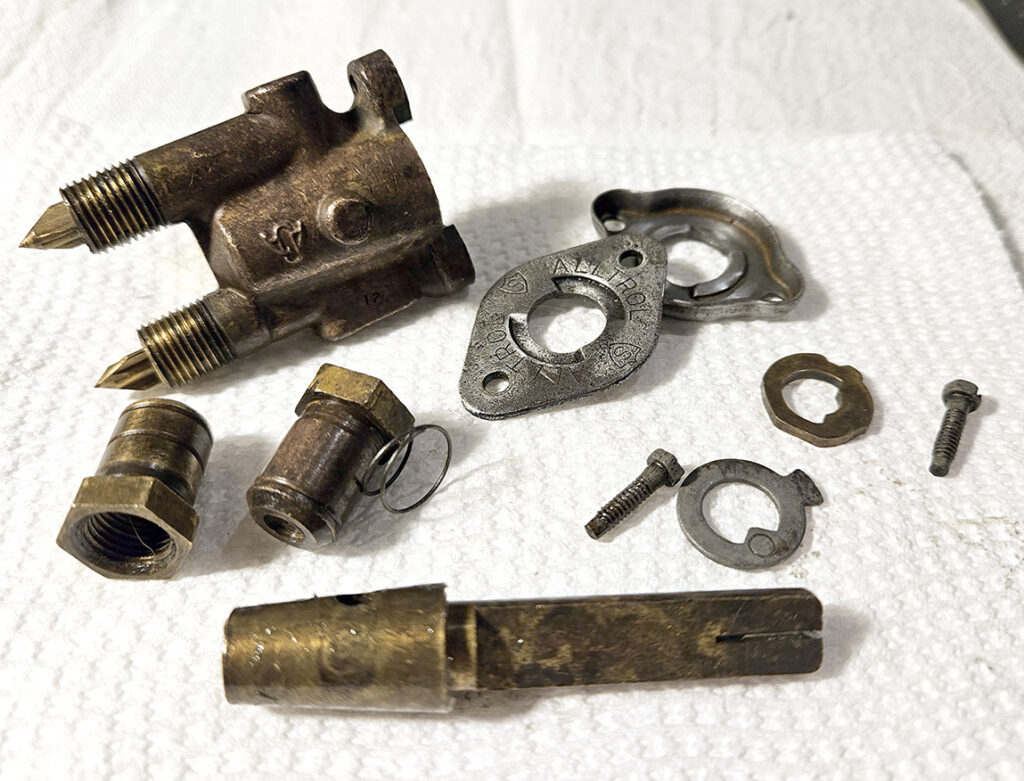
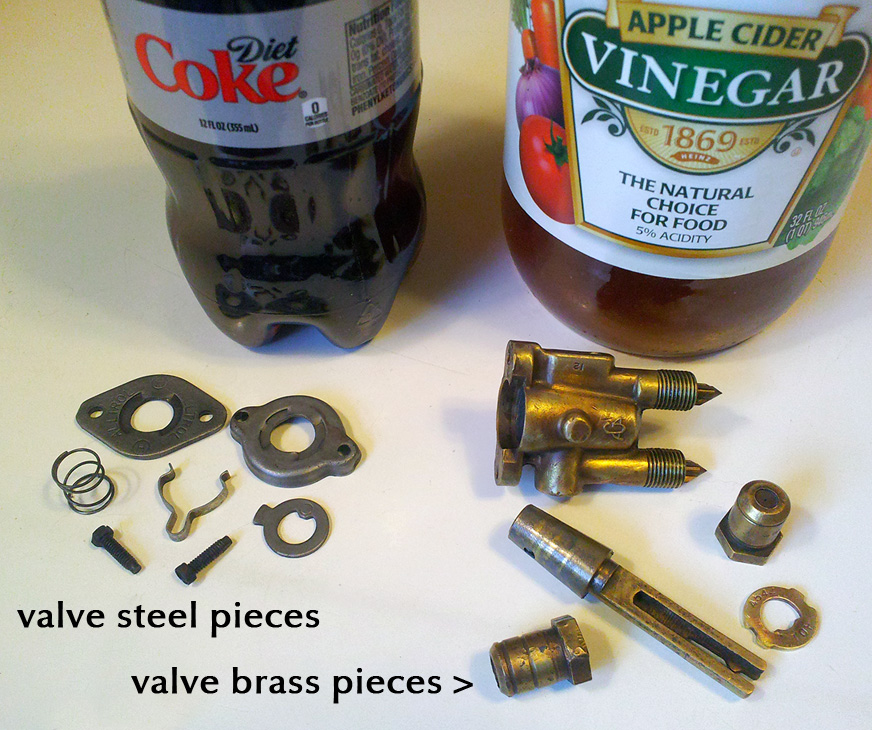
After complete disassembly, I soaked all the pieces in Goof Off, then rinsed, then soaked them in a strong cleaner/degreaser and scrubbed them with a medium stiff nylon toothbrush. Alltrol valves have steel and brass components. I sorted the parts into brass and the steel parts.
Removing Steel Rust
The steel pieces had been damaged by rust (iron oxide). Even after washing and brushing, there was still some rust. Rust is a lovely color, but it’s also a sign of slow destruction of iron and steel. Due to their small size I soaked all the little steel pieces in a cat food tin full of phosphoric acid (Prep & Etch), a derusting solution. I chose full strength phosphoric acid to quickly remove the iron oxide (more precisely to convert the red iron oxide into black iron phosphate). Iron phosphate provides moderate corrosion resistance. I saw some foaming while those pieces soaked. That indicated the acid was working.
There are a wide variety of solutions to remove rust, depending on the condition of the metal. the size of the piece, the speed to remove the rust. My choice simply depended on how slow or fast I wanted the process to take effect.
- sandpaper, steel wool, wire brush
- spinach, rhubarb leaves, wood sorrel (aka Oxalis, sourgrass), it’s the oxalic acid in them that does the job, converting the iron oxide into iron oxalate
- vinegar (acetic acid) converts iron oxide to iron acetate
- lemon juice, unsweetened lemonade Koolaid powder mixed with water, tomatoes (it’s the citric acid that does the job)
- molasses or Coca Cola (it’s the phosphoric acid in them that does the job, converts iron oxide to iron phosphate)
- phosphoric or hydrochloric acid
- tannic acid (converts iron oxide to iron tannate)
- WARNING 1: acids can etch glass and porcelain enamel
- WARNING 2: Once rust is removed, fresh metal surface will immediately begin oxidizing again. As soon as the piece has been neutralized (baking soda wash), apply some protection (grease/oil).
Removing Brass Tarnish (aka Patina)
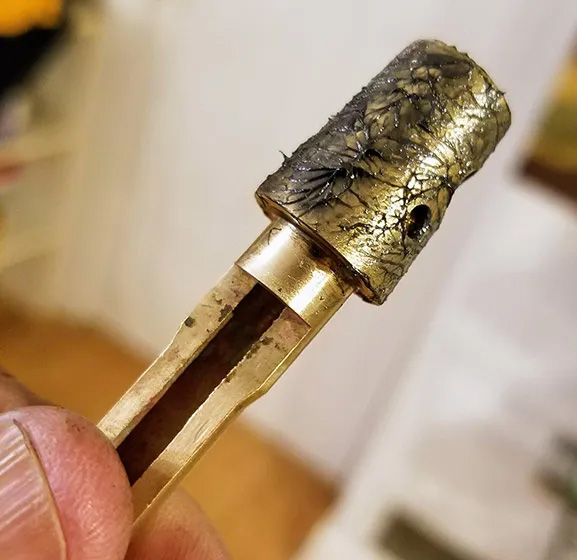
The brass pieces got a soaking in diluted muriatic acid to remove the tarnish. There was really no need to remove the tarnish. It doesn’t represent damage, it just looks dingy. Without protection, the tarnish reappears in short order.
Tarnish is self-limiting, unlike rust. Only the top few layers of the metal react, and the layer of tarnish seals and protects the underlying layers from reacting.
All metal cleaning removes a tiny amount of surface metal. What is very important is to proceed very carefully when cleaning the brass plug and plug hole. Those mated parts are precision sized. Aggressive cleaning of those surfaces could remove too much brass, distort that precision mating, cause valve leakage.
Following that – a good rinsing of all the brass pieces in water with a bit of dissolved baking soda to neutralize any residual acid. Then I let the pieces completely dry.
Clearing valve channels
The solutions were fine for removing surface tarnish/oxidation. But none of those chemicals would remove any dirty grease inside the dual valve channels; gunky debris that could impede the gas flow. After 60-70 years, there was bound to be some that needed to be removed.
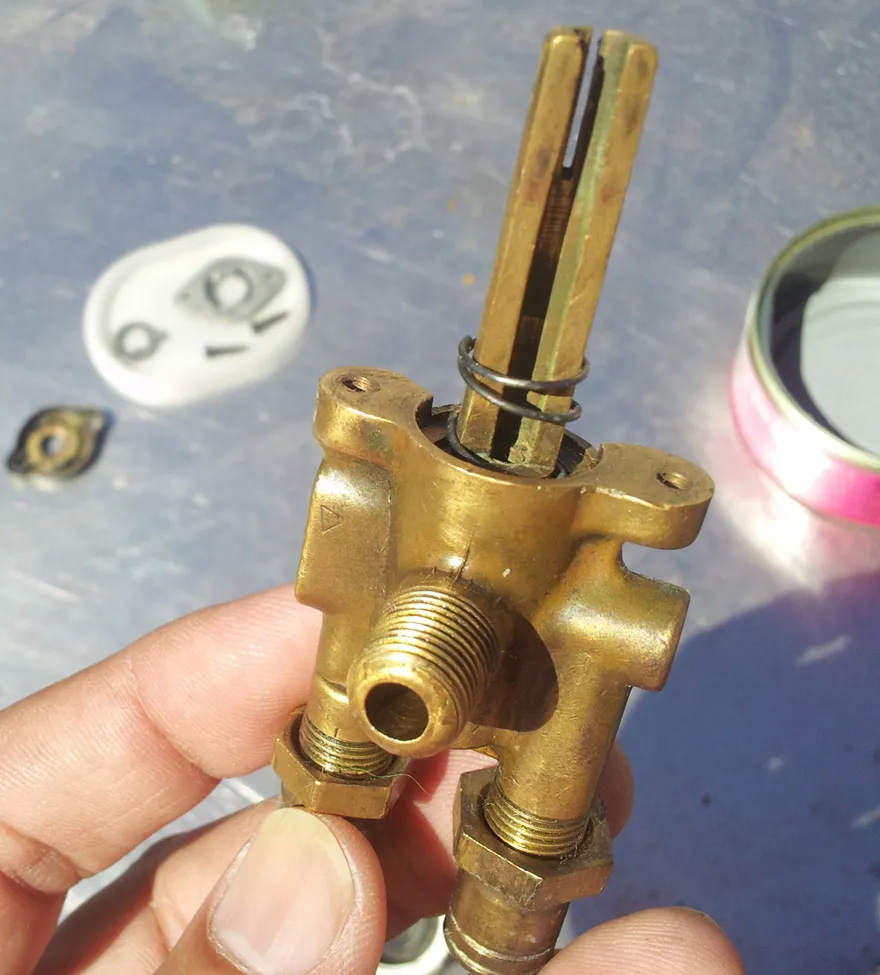
Each valve had a main and a simmer channel. The openings can almost be seen on the sides of the conical plug’s housing.
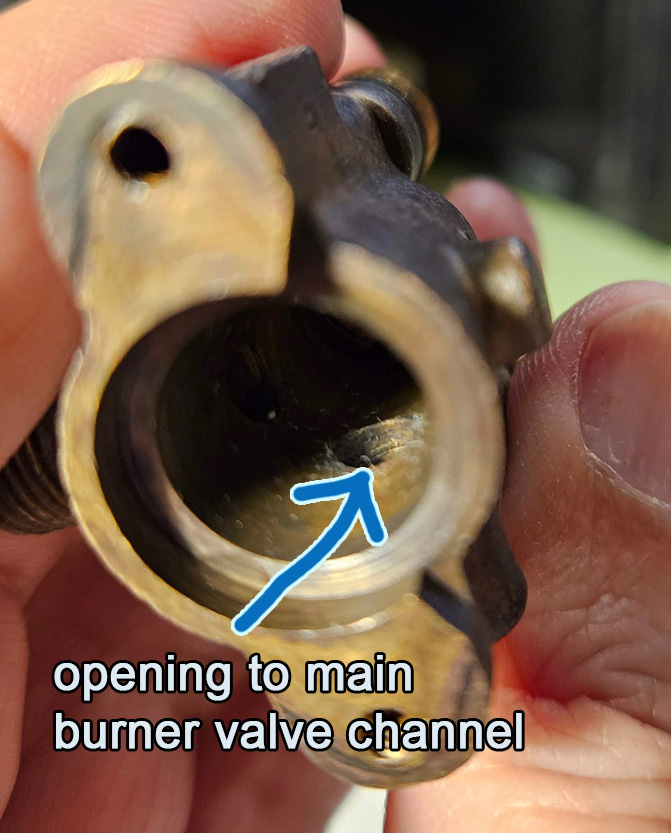
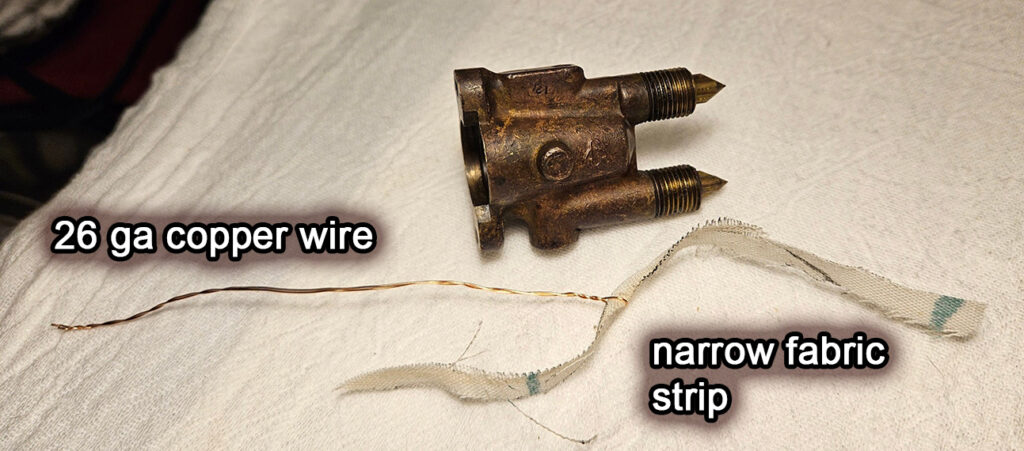
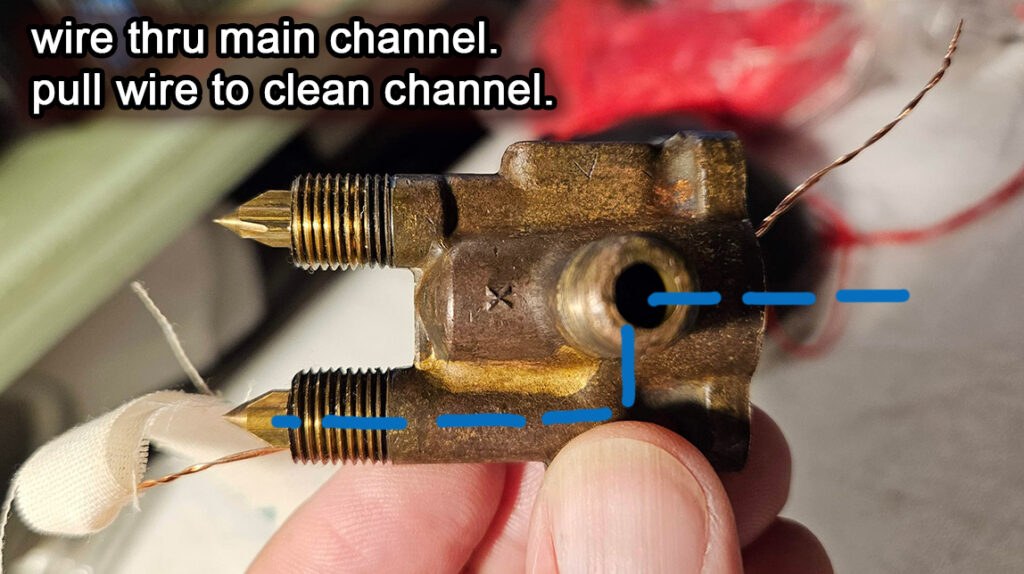
I used a thin copper wire with a thin strip of cloth to snake through the valve channels between the conical plug hole valve space and the main and simmer orifices. There was a lot of gunk in those small channels, junk that could have impeded the flow of gas.
Then it was time to lube – gas valve grease on the brass plug, a light smear of high temp grease on everything else.
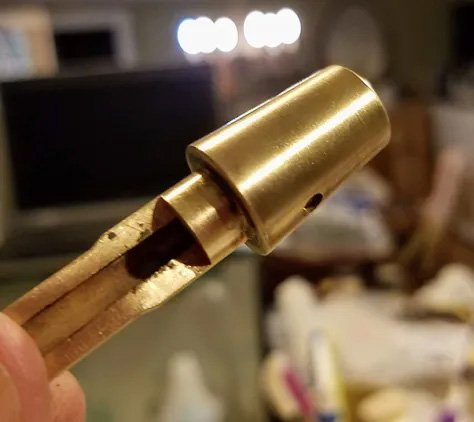

Reassembly
Screw the main and simmer burner orifices back on to the back of the valve. This is important to protect those fine pointed needles.
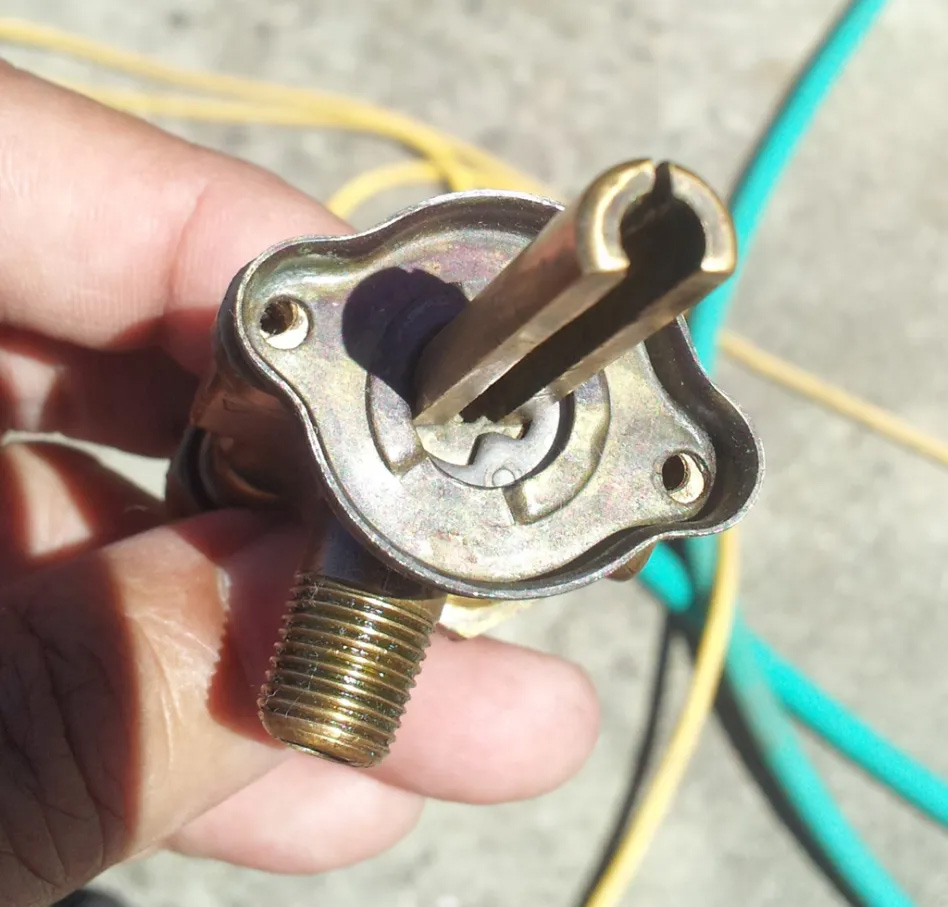
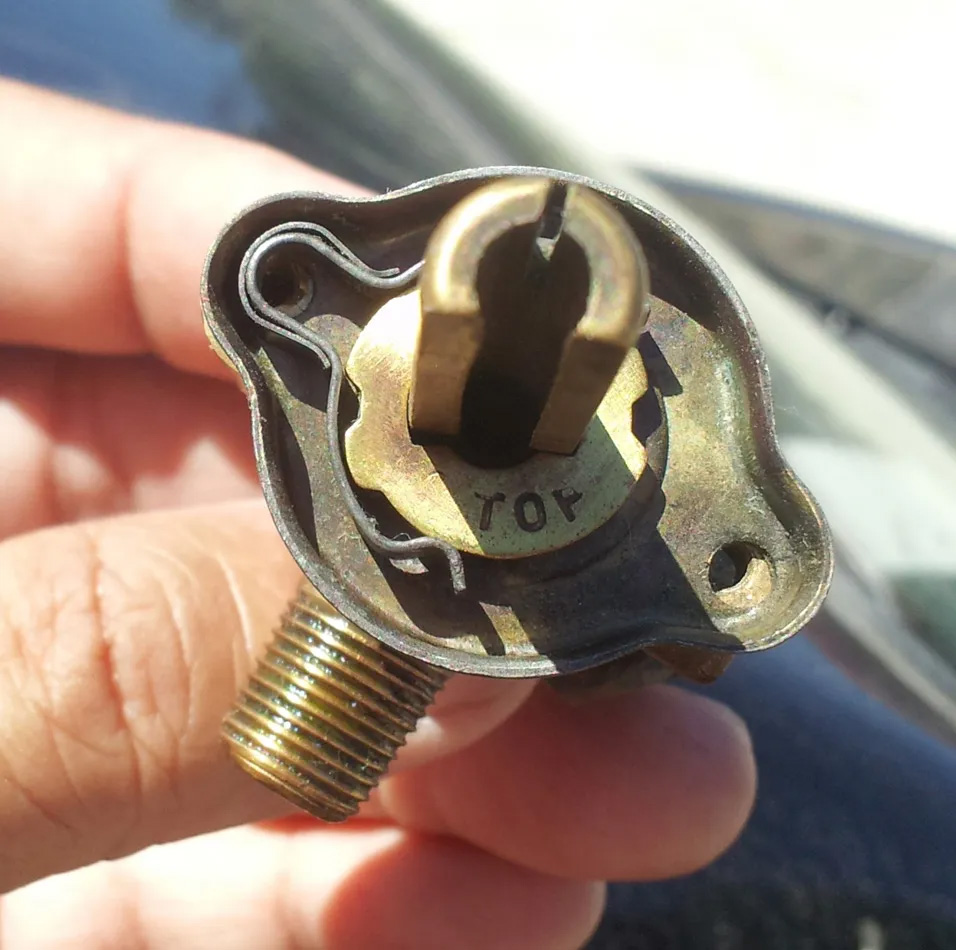
Time to address the front of the valve. The trickiest part is setting parts on top of the spring. Without a way to keep the spring compressed reassembly, can be a little challenging. But not impossible.
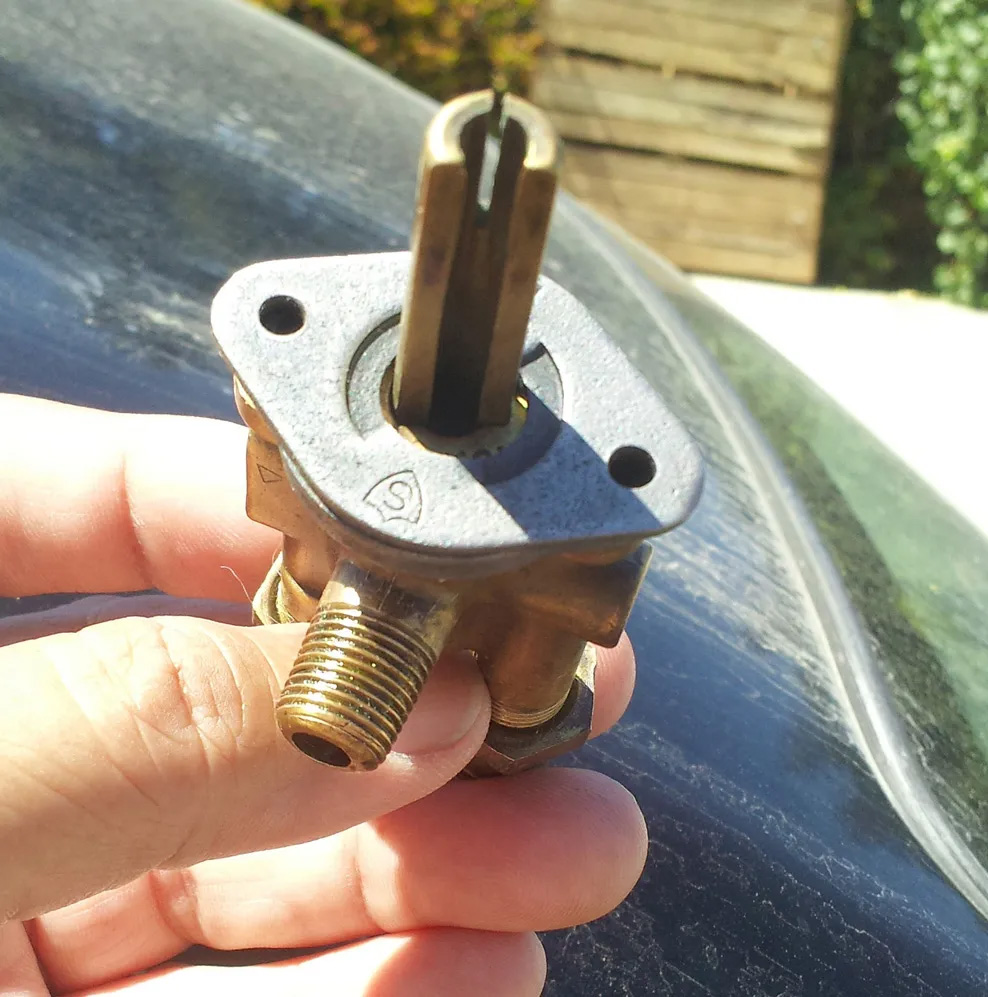

Polishing
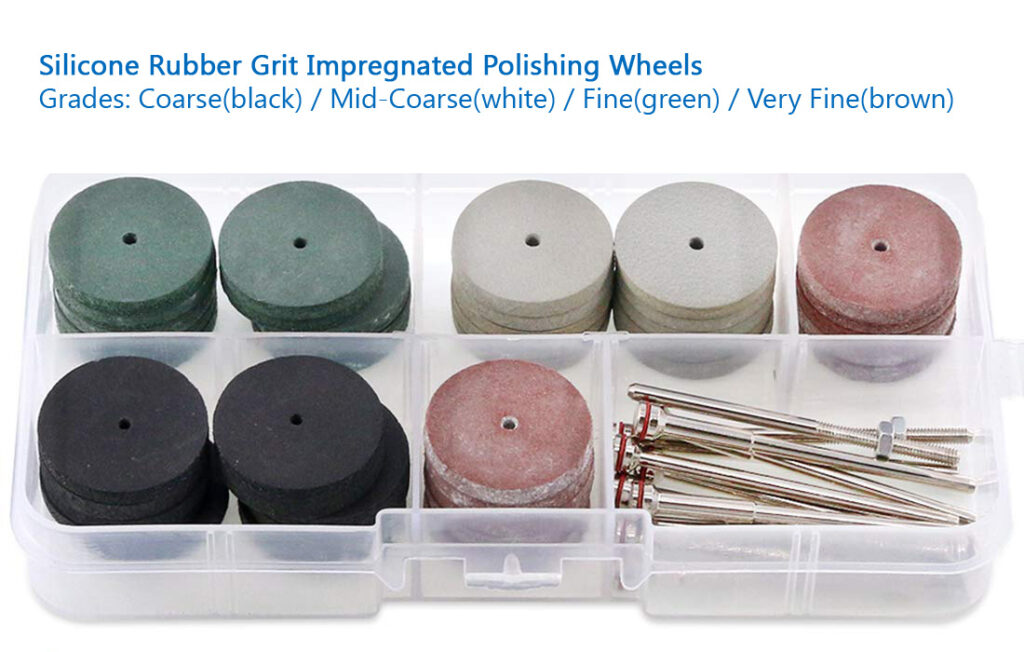
After reassembling the valve, I buffed the valve exteriors with a Dremel abrasive buff and/or rubber bonded abrasive wheels. It’s not really necessary to polish the valves, but I couldn’t help myself. 🙂
Ain’t she purty?

After reinstalling the valves I turned on the gas to that burner. The noise of rushing gas indicated too much gas was flowing through. So I tightened the two orifices to restrict the flow a bit more.
The cleaning worked! The burner lit up quickly.
I’ve a sneaky suspicion all the pipes/tubes that carry gas throughout this stove need the same cleaning, attention or replacing. #427 on my growing list of things to do.
Note: these are precision sized holes. They’re sized only for natural gas. If converting to propane, these holes would be way too large.
